WordPress Maintenance for Busy Entrepreneurs: What You Actually Need
If your WordPress site has been quietly gathering dust while you run your business, you’re not alone. Most entrepreneurs I work with don’t have time

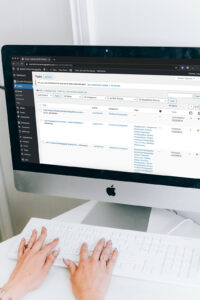
Adding an administrative user to your WordPress.org site is easier than you think. Whether you’re teaming up with a colleague or bringing in some expert help, this step-by-step guide will walk you through the process while keeping things fun and secure.
yourwebsite.com/wp-adminHere’s where the magic happens. Fill in the form with these details:
What if the email notification doesn’t land in the new user’s inbox? No worries, here’s what to do:
By following these steps, you’ve just added an admin user with style and security! If you hit any bumps along the way, drop us a line or check out WordPress’s official documentation. You’ve got this!

If your WordPress site has been quietly gathering dust while you run your business, you’re not alone. Most entrepreneurs I work with don’t have time

I’ve always believed that your business should support your life—not the other way around. But now I understand that in a deeper way. There is a kind of quiet power in knowing that your business doesn’t fall apart when you do. That your clients are still supported. That your VA or team members have what they need. That your offers, emails, and onboarding don’t rely on you being constantly available.

Thinking of creating an online course? Here are 5 signs you’re ready to start a course, from a 7-figure course creation specialist.

Your business website is critical to make sales. Don’t let an outdated dud hold you back. Let’s break down 4 easy ways to upgrade your existing website (free and paid).

If you’ve finally built and published your website, congratulations! Although it feels fantastic to have a website to share your business with the world, it’s important to not just post it and ghost it! After you’ve posted your website, regular web updates are necessary in order to keep your website working to the best of its abilities.

With the increase in remote work, virtual assistants (VAs) have become more in demand than ever. You may even want to hire a virtual assistant
Etiam sapien ex, convallis at odio eget, tincidunt maximus arcu. Fusce molestie rhoncus tortor, sed ultrices mi convallis ut.


